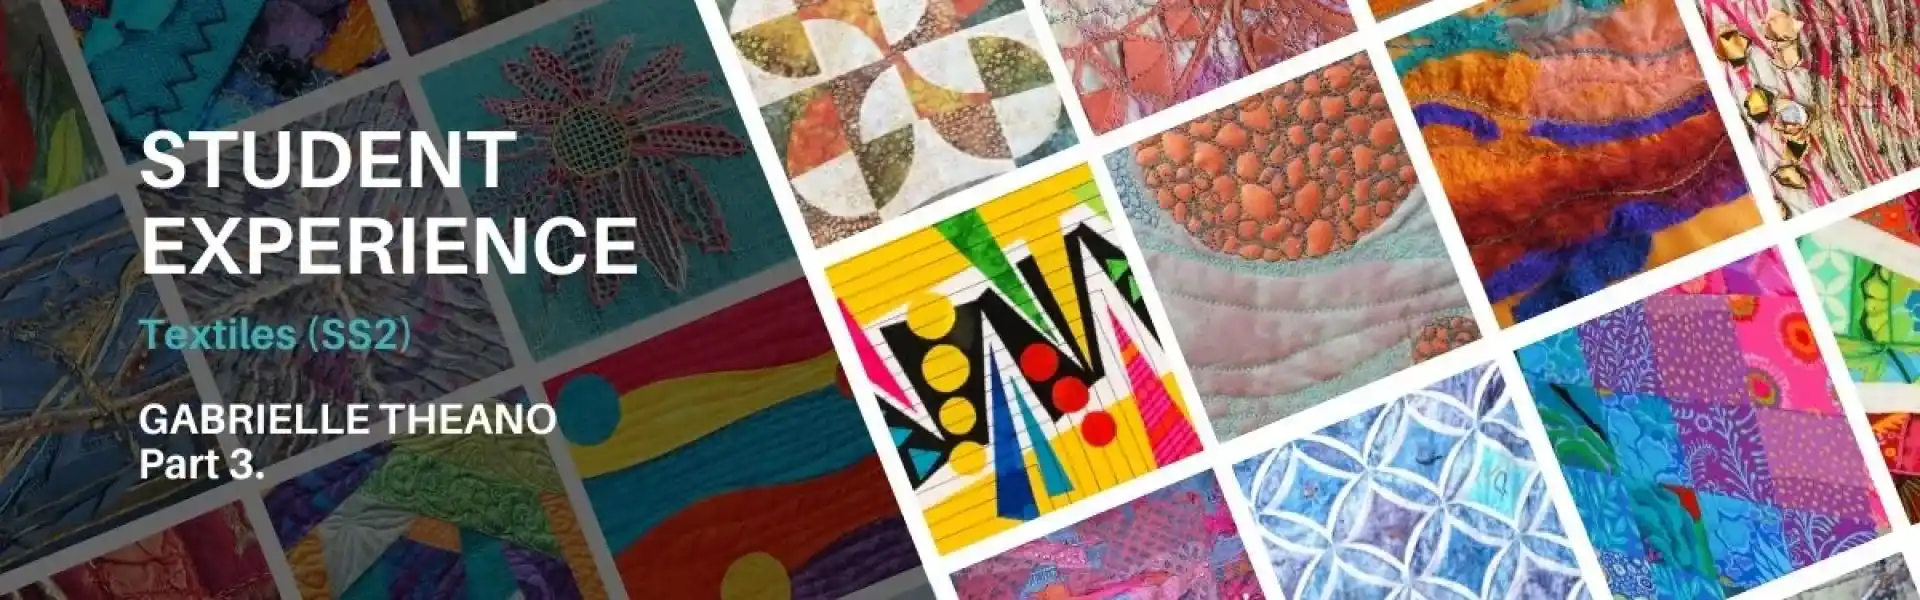
Welcome back to our special Student Experience series. This is the third part of Gabrielle Theano’s blog in which she shares the in’s and out’s of studying our accredited Textiles Course.
You can read Part 1, Part 2, or check out the full series, and don’t forget to subscribe to our newsletter to regular updates.
Student Profile
Name: Gabrielle Theano
Course: Textiles Skill Stage 2
Previous Experience: “I trained as a scientist but I’ve been doing some form of (self taught) textile work for most of my life. I’m keen to improve my skills but also nervous. It’s been a long while since I have “put myself to the test”.
Course Overview
Our Textiles course is a mixture of Machine Embroidery and Patchwork & Quilting. The course is designed to take students through the basics and introduce them to new techniques.
By the end of the course students will have the knowledge and skill to produce pieces to a high standard which should reflect their own individual style and creativity.
Download the brochure for more information.
Task 1 & 2
Experimenting and Sampling
This blog, along with my Module 3 submission is rather late. I mentioned, in my last blog, some expected delays at the beginning of the year – unfortunately the challenges continued throughout the year. I live entirely alone, without any external support or family, which tends to make things more difficult. That said, I’m very grateful for having the ‘tether’ of the structured SoST course. It pulls me back to my textile work when I am available for it.
I enjoyed Module 2, but it didn’t have any textile tasks, so I was pleased to be back at my sewing machine. Applique has been around for centuries, and has many different types and styles. It was pleasant to examine and compare them all, although I expect I will stick to my raw edge work. Talking of ‘sticking’, there are so many products available to stabilize, attach or strengthen textile work. It’s not always clear which product is best for your project which highlights the importance of sampling whenever possible. I was mildly horrified to read of the tales of artists failing at quilt competitions because the marks from heat-sensitive pens re-appearing when the pieces get cold!
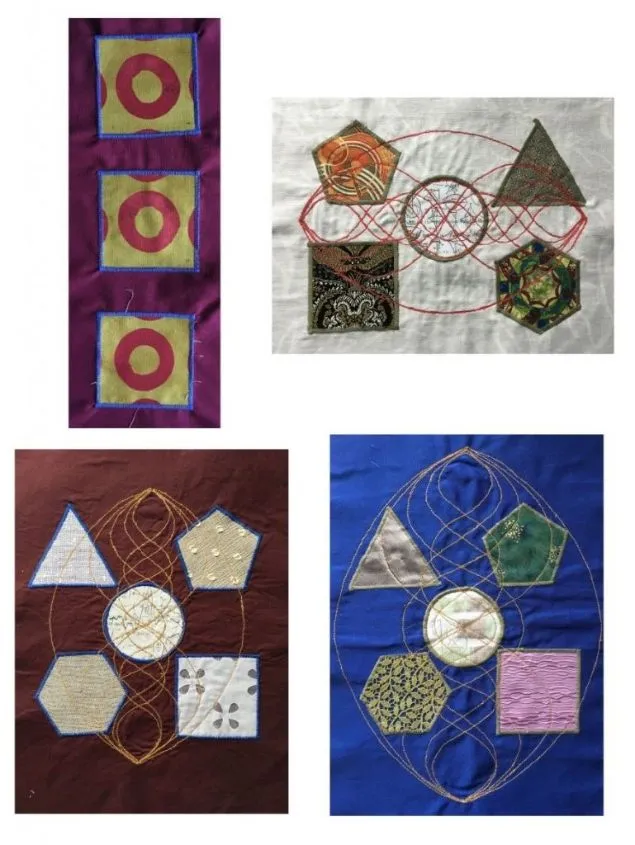
The second task was relatively straight forward – attaching simple shapes, using satin stitch. But my science brain itched to explore a bit more. I wanted to see how much fusible web was required, and what different fabrics and shapes look like when appliqued, including my own printed fabrics. I also wanted to practice free-motion stitch to provide an over stitch pattern (harmonic curves) that reflects my artistic theme. So I did 4 initial trial pieces. I don’t have a zig-zag foot which was ok for the straight edge pieces but I needed a work around for the circular applique. In the end I used my darning foot but with the feet up, which allowed visibility and enough traction to keep the satin stitches even. It took quite a few practise runs to get the corners and circular pieces right.
Gaining Confidence
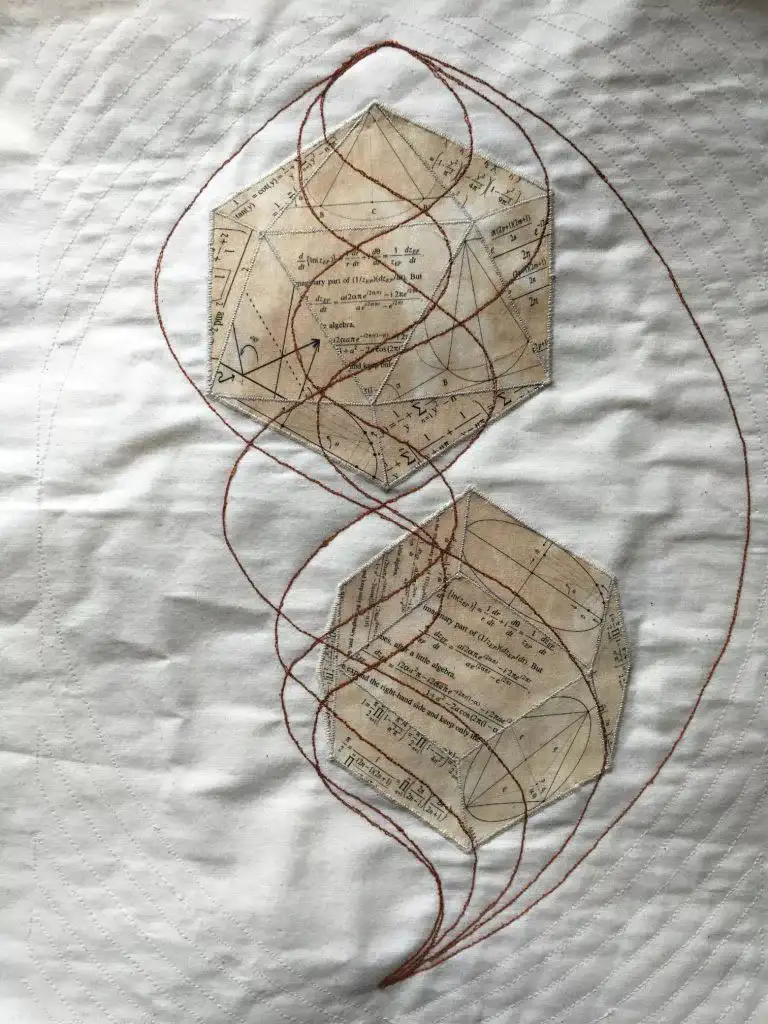
Having built enough confidence I was able to complete a piece based on mathematics and cosmology, inspired by “Harmonies” by Remedios Varo. It includes two polyhedra that feature in Harmonies, along with the link to the musical harmonies that were originally thought to govern the laws of the Universe. I printed fabric with various mathematical equations and graphs, and then overdyed it with tea to give it a more aged look. I really like the piece though I think I need more practice at sewing exact lines with free-motion.
Task 3
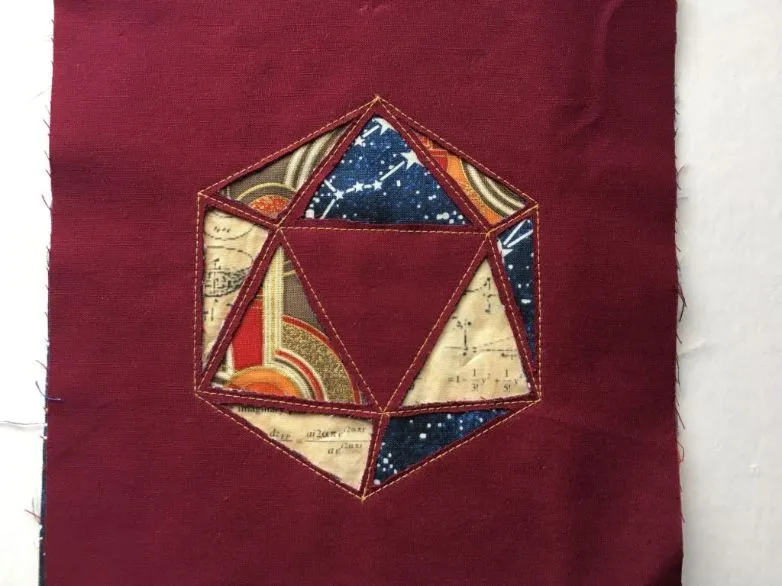
Task 3 is Reverse Applique. I decided to sew a four layered icosahedron, featuring mathematical equations and the fabrics used in Task 1 to represent Varo. I loved the depth obtained from careful cutting through the layers – I reminds me of some ‘stepped’ pieces I have made with paper laminates.
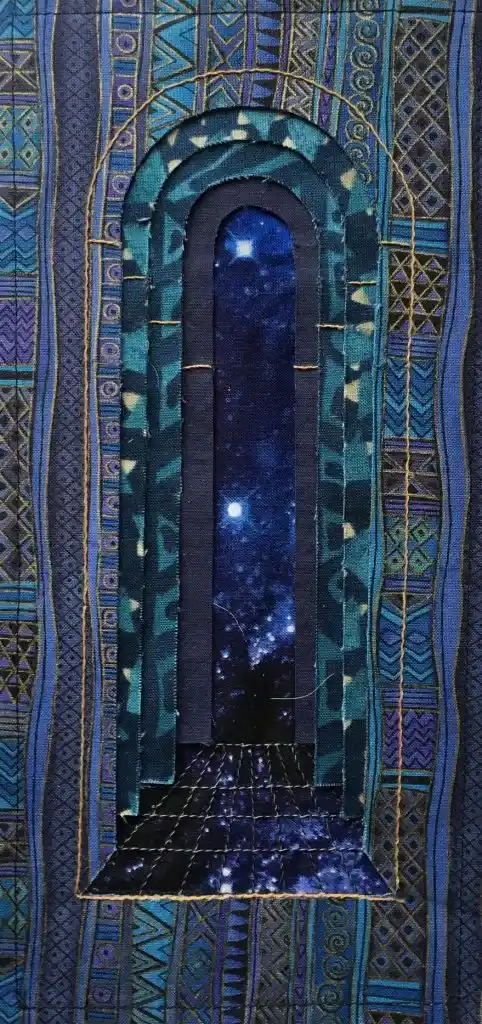
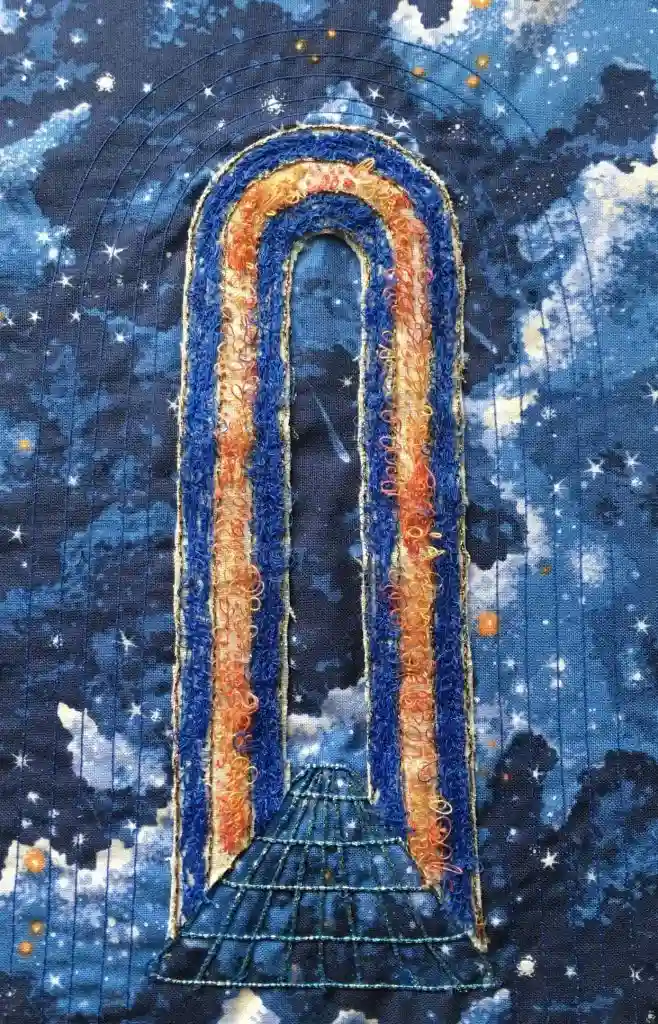
Thinking of Varo, I also explored how to achieve the rough layered effect that is seen in her paintings. I haven’t got what I want yet but will continue to experiment. I really do like layers, particularly that sense of receding into the distance. I decided to make a pre-cut ‘reverse applique’ where I cut out the shapes before sewing them together, this time based on Varo’s receding arches. I’m not sure whether pre-cutting really allows this to be classified as reverse applique! As always I did some sampling and noted that the arches looked more 3-dimensional if I didn’t sew directly around them, or fuse them together. I shifted the colour scheme to mainly blues as well as I wanted the viewer to focus on the receding view rather than the arches themselves.
Task 4
Task 4 is Couching. I usually do my couching by hand but I had fun experimenting with machine couching various thickness of thread, yarn, tape – even some paper flowers. Couching very thick yarns etc. can lead to a prominent 3-D effect on the reverse side as well. As always the tasks in these modules often inspire me to create something that reflects my interest in the history of science and mathematics.
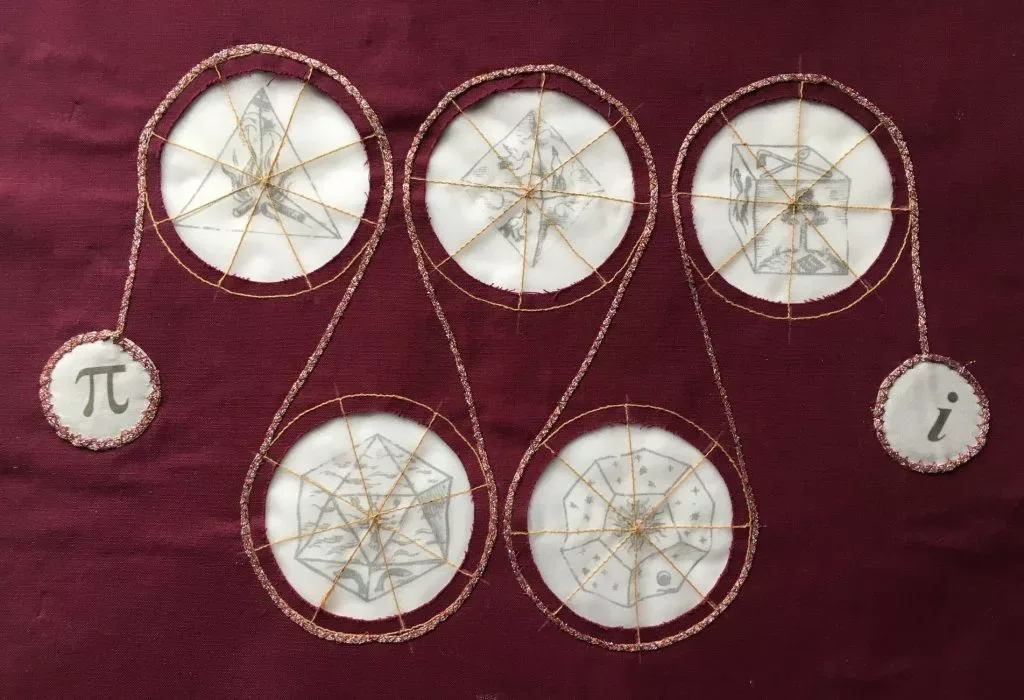
This piece reflects Varo’s machines, the Platonic solids used in Kepler’s Mysterium Cosmographicum (my favorite scientist), and the link, through harmonics, between pi and the complex number ‘i’. I would have preferred the loops to be more sinusoidal, which would have required the piece to be bigger. Unfortunately I have a limited supply of fabric to use, but I think this is an idea I can take further.
Task 5 & 6
Task 5 & 6 involve changing bobbin tension. I only have one bobbin case, so drew a huge breath, told my machine that it had better behave itself and got started.
I was encouraged by Val Holmes in her excellent “The Machine Embroiderer’s Workbook” who mentions that I can bypass the bobbin tension altogether with my Pfaff vertical case. Phew!! She doesn’t mention how fiddly it is to hand wind bobbins with thicker threads/yarns, particularly how they love to unwind themselves before one gets a chance to pop them in the bobbin case. I spent a few days chasing rolling bobbins – it’s a good thing I don’t have a cat! I did try to just loosen the bobbin tension but found bypassing it worked best for cable. I lost the very tiny screw a couple of times also – so was very grateful for my magnet which sits on a telescopic tube. I got the hang of it, noting that I needed to alter the top tension for different threads.
Having got past my reluctance to change the bobbin tension (I felt decidedly heroic!), I was ready to experiment with whip, feather and moss stitches. As expected, different threads require different settings. I like the textural effects that can be achieved and the sense of dimension they provide. My final piece was based around the Comic Arches again – this time using cable for the grid, and whip, feather and moss to fill the arches.
Finally completed Module 3 (I hope). Given the challenges I’ve had this year I have probably spent too long experimenting and creating pieces based on my chosen themes. That said – I’m really pleased with all that I have learned from SoST in this module, and am delighted to have created meaningful pieces at the same time.